That works just great..... until now it's the night before the test, or due date of the bill. Now the pain of failing the test or paying the overdue fine EXCEEDS the pleasure of not studying or writing the check, so you are now motivated to get it done. Works for me!
So, with that being said, I got up at the crack of 9am, had my coffee, jerked around the house, did my "planning", went to Home Depot, and bought some things that I would need, like a scrub brush I could put on a broom handle, some wood putty, an expensive 3" slant tip brush, and a 1 1/2" slant tip (trim) brush. BTW any moron can paint in the middle of something, but for doing the "cut-in" work - you know, like where the wall meets the molding, or trim work, BUY A GOOD BRUSH!! Do NOT skimp here. With a good brush you don't even have to tape up anything. First though, we PROs have to be properly nourished, so luckily there is a Wendy's conveniently just across the street from the Depot.
Well, before you knew it it was probably 2pm and I was back home and raring to go!
First thing I did was prepare the house for scrubdown. OH! I should tell you this. My original plan was to start on my detached garage and "experiment" with that. Get that done, then move on to the back of my house. Then, armed with all this experience, finally move on to the front of the house for the ending. Come on, be real ... how much "experience" do you really need to dip a brush into some soapy water (actually MelaMagic and water) and scrub shingles.
Just before starting, though, a stroke of brilliance made me change my plan. I decided to start on the FRONT of the house first!. See? That's where procrastination was actually a benefit! If I had just "rushed" into this, maybe the back of the garage might be done but not the most focal point of the house. This way, in case something drastic should happen to me (like quitting this project! or an invite to go down to Florida again, or an airshow someplace) at least the front of the house would be beautified. I suggest this to all of you PROs who in the very back of their minds think that they might not finish something ..... DO THE MOST VISIBLE PART OF THE PROJECT FIRST!
But the trick to pull this off is to finish that part - or at least make it appear finished. Classic example would be: lets say company's a comin'. OMG! I have to straighten the bedroom! So what do you do? The "normal' person would take five minutes to put everything on the dresser top away where it belongs and properly make the bed. But what does the PRO (crastinator) do? Open the top drawer of the dresser and scoop everything off the dresser top into that drawer. And making the bed? Who's got that kind of time? So you just flatten it out and throw the bedspread over the top of it, and voila! It appears made nice and neatly. (I must give credit where credit is due. I learned that trick from daughter Valerie many years ago.)
Total time saved? NONE. Because although you saved in the short term, you STILL have to put away all the stuff you scooped into the dresser drawer and properly make the bed, but the good thing is that you can always "do it later".
PRO tip: Commit that term to memory as you will use it often and will help you to justify anything you procrastinate about. Repeat after me.... "Don't worry, I can always DO IT LATER."
So, with all tools necessary I plunged into my work. My house is a small Cape Cod type, so the front of the house is relatively low .... easily reached with just a small ladder. I removed the gutter downspouts and shutters from the windows of (what my daughter calls) the "wino room".

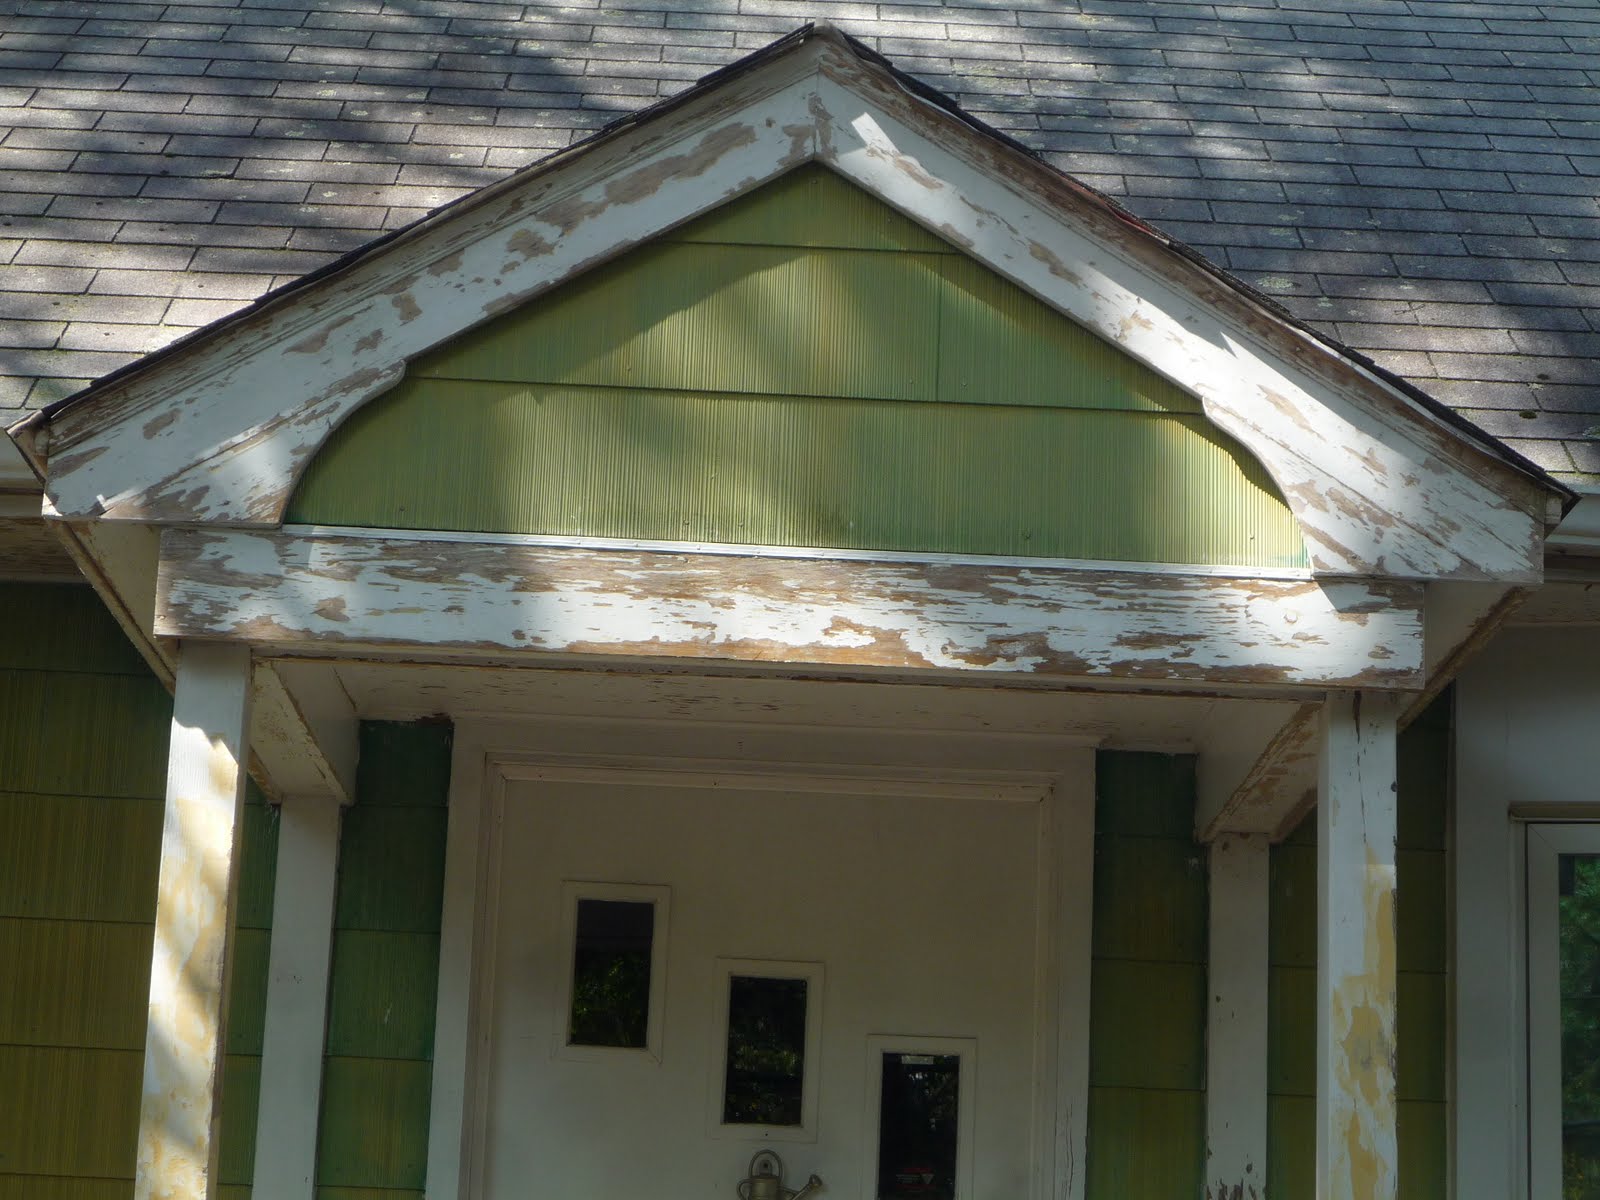
Now I had some holes in the front columns from where the old railings were attached, as well as a rough surface from where the paint was scraped off. To make a smoother surface I used some Elmer's Wood Putty. It's kind of like orangy beige spackle, and tools nicely.
Well, I did it! I actually got something accomplished today!
PRO warning: Now that you've actually started your project you must work as quickly as possible, as the pleasure of starting will eventually be overtaken by the pain of continuing!!
Tomorrow ~painting begins!
No comments:
Post a Comment